

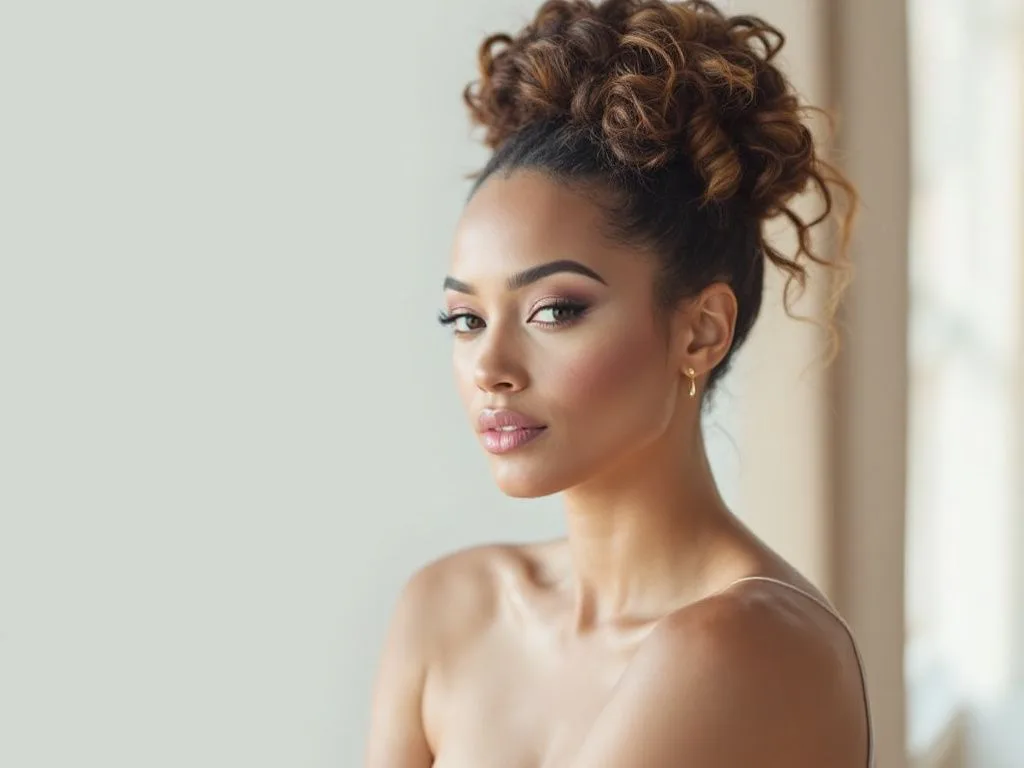
Hey, fellow hair adventurers! We’ve all been there—you spend hours perfecting your curls with a curling iron only to regret it when you see the damage it does over time. I get it. You love those luscious curls but don’t want to fry your hair. Well, what if I told you there’s a gentler way? That’s right, you can achieve beautiful, bouncy curls without any heat damage. Say hello to heatless curls! Let’s dive into some fantastic, easy methods that’ll have people wondering where you got your hair done.
Why Choose Heatless Curls?
If you’re tired of trading off between healthy hair and fabulous curls, then heatless curls are right up your alley. Switching to a heatless routine can save your strands from heat exhaustion and keep them luscious and strong. Picture curling your hair with zero nightmare scenarios involving burnt hair smell—sounds promising, right?
Benefits Of Heatless Curls
- Less Hair Damage: No heat means no risk of cooking your hair’s essential proteins and oils.
- Cost-Effective: Heatless curling often involves items you already have around the house. No need for fancy gadgets.
- Longer Lasting: Surprisingly, when done right, some heatless curls can even hold up longer than their heated counterparts.
- Versatility: Plenty of methods exist, so you can mix things up without getting bored.
Now, are you ready to explore these magic tricks? Let’s roll up our sleeves and curl up!
The Sock Bun Technique
What You Need
- A clean sock (yes, really!)
- A pair of scissors
- Hair ties
How It Works
Trust me on this one, a sock bun sounds odd, but it really works! Start with the sock. Cut off the toe end and roll it into a doughnut shape. Easy peasy.
- Create a Ponytail: Gather your hair and secure it at the crown of your head with a hair tie.
- Roll with the Sock: Thread your ponytail through the sock doughnut until the doughnut reaches the top of your ponytail.
- Roll Downward: Wrap and tuck sections of your hair over the sock, rolling the sock until it’s snug against your head.
- Overnight Magic: Sleeping with this look might feel a bit weird at first, but beauty is pain, right?
- 5. **The Reveal: Unroll the sock carefully in the morning and enjoy some seriously impressive no heat hairstyles.
Beachy Waves with Braids

Dreaming of those effortlessly glamorous beach waves? Let me show you how simple it is:
What You Need
- A leave-in conditioner or mousse (optional)
- Hair ties
Steps to Fabulousness
- Start Fresh: This works best on slightly damp hair, so maybe after a shower dab it dry until it’s just shy of wet.
- Divide and Conquer: Divide your hair into sections—fewer for looser waves, more for tighter curls.
- Braid Away: Braid each section and secure with a hair tie. Mixing braid styles (like French and fishtail) can create different curl patterns!
- Add a Bit of Product (if you like): Work some mousse through the sections if you wish to embrace a more defined curl.
- 5. **Sleep On It: Relax and let the braids do the work overnight. By morning, you’ll reveal beach waves that rival any seaside adventure!
The Twist and Pin Method
What You’ll Need
- Bobby pins or hair clips
Curl Your Way

- Divide Sections Again: Like other methods, doing this in sections is key if you want more defined curls.
- Twirl and Twist: Twist each section of hair tightly and coil it around, securing with your bobby pin or hair clip.
- Love The Wait: Leave them overnight or thrown a scarf over for the day. Whichever you choose, be patient!
- Unveil & Tousle: In the morning, gently release the twists, giving your hair a little fluff and tousle with your fingers for natural, heatless curls.
The “Robe Tie” Trick
Here’s a trendy approach you’ve probably swiped past on social media. It’s as chic as it is comfortable.
What You’ll Need
- A robe belt
Tip-Top Technique:
- Prep it Up: Start on damp hair.
- Position the Belt: Place the robe tie at the center of your head, like a headband. You’ll have two ends hanging by your ears.
- Wrap it Around: Twist sections of hair around the tie, adding more hair as you twist further down. Tie the ends with scrunchies.
- Patience, My Friend: Leaving it in for 4-6 hours or overnight yields the best results.
- 5. **Free Your Inner Diva: Pull the belt gradually out and run your fingers to separate curls, finishing with a spritz of hairspray if needed.
Tips to Enhance Your Heatless Curl Game
Consistency Is Key

Try to maintain consistent tension as you wrap or twist. Uneven tension could lead to erratic curling patterns, which may not be ya jam.
Be Patient
Heatless curling methods usually require time to set properly. The longer they sit, the more those curls will withstand the demands of your day.
Tweak Hairstyles With Haircuts
Sometimes what works best for heatless curls is having a haircut that complements curl patterns, like layers which reduce chunkiness or heaviness.
Common Mistakes and How to Avoid Them
Walking Around with Styled Humor
Alright, it’s a little awkward, but if you step outside with your hair wrapped in pins and guess what, nobody bats an eye. Just think of the endgame—keeping those luscious curls intact and lasting longer.
Too Much Product
The less product, the more natural your curl will look. Heavy products can prevent curls from setting and give you more of a crunchy look.
Over-Manipulating
Once those curls are unveiled, keeping your hands off is crucial. Too much fussing messes up your curls faster than any chaotic weather.
Self-Care Days
Heatless curling methods grant you a chance for deeper repair treatments since you’re not exposing hair to the heat. Take this time for double-purposed self-care!

Wrapping Up
Heatless curls offer a fabulous, no heat hairstyle option that keeps your hair healthy, bouncy, and super flexible in style. Each method offers different waves and curves, but they all share the same core value: they save your hair from harm. So next time you want killer curls, step away from the heated iron and reach for a cozy sock or your trusted robe belt—you’ll thank yourself (and so will your amazed friends).
Trust these methods the same way you trust your favorite moisturizer. Give them a go or mix them up for exciting new styles; you’ve always got room for creativity. Your hair’s potential is limitless, and now you can reach it without the singe. Cheers to fabulous, healthy curls—effortlessly.
Frequently Asked Questions
What is the best way to prepare my hair for heatless curls?
To prepare your hair for heatless curls, wash your hair and let it air dry until it is about halfway dry. Using air dry styling creams or oils can help nourish and hydrate your hair, making it easier to hold the curls. Avoid using heat or friction, and consider using a towel that wicks water away quickly to shorten dry time[3][5].
What materials can I use to achieve heatless curls?
You can use various materials to achieve heatless curls, such as heatless curler headbands, tube socks, satin hair rods, or even velcro rollers. For the sock method, tie two long tube socks together to create a long rod, and secure it with a claw clip. For the headband method, twist your hair around the headband and secure it with hairspray[1][3][5].
How do I wrap my hair for heatless curls?
To wrap your hair for heatless curls, start by sectioning your hair and then wrap each section away from your face. For the headband method, twist each section over and under the headband. For the sock method, wrap your hair tightly around the sock or rod, ensuring the hair is smooth and not clumped. Secure with scrunchies, clips, or a claw clip to keep your hair in place[1][3][5].
How long do I need to leave the heatless curls in place?
The duration for leaving heatless curls in place can vary. Generally, you should leave them in overnight or for at least several hours. For the headband method, let your hair dry completely before letting it down. For other methods, you can leave the curls in for 20 to 30 minutes or overnight, depending on the desired tightness and hold of the curls[1][3][5].
References
Leave a Reply