
Hey there, curly-haired crew! So, you’re thinking about adding a pop of color to your curls but are hesitant about potential damage? Trust me, we’ve all been there. Coloring curly hair can seem daunting, especially with all those horror stories about dryness, increased frizz, and curls losing their bounce. But don’t let that scare you away from expressing yourself with color. With a little know-how, you can safely dye curly hair without sacrificing the health of your gorgeous spirals. Let’s walk through the steps together.
Why Coloring Curly Hair Needs Extra Care
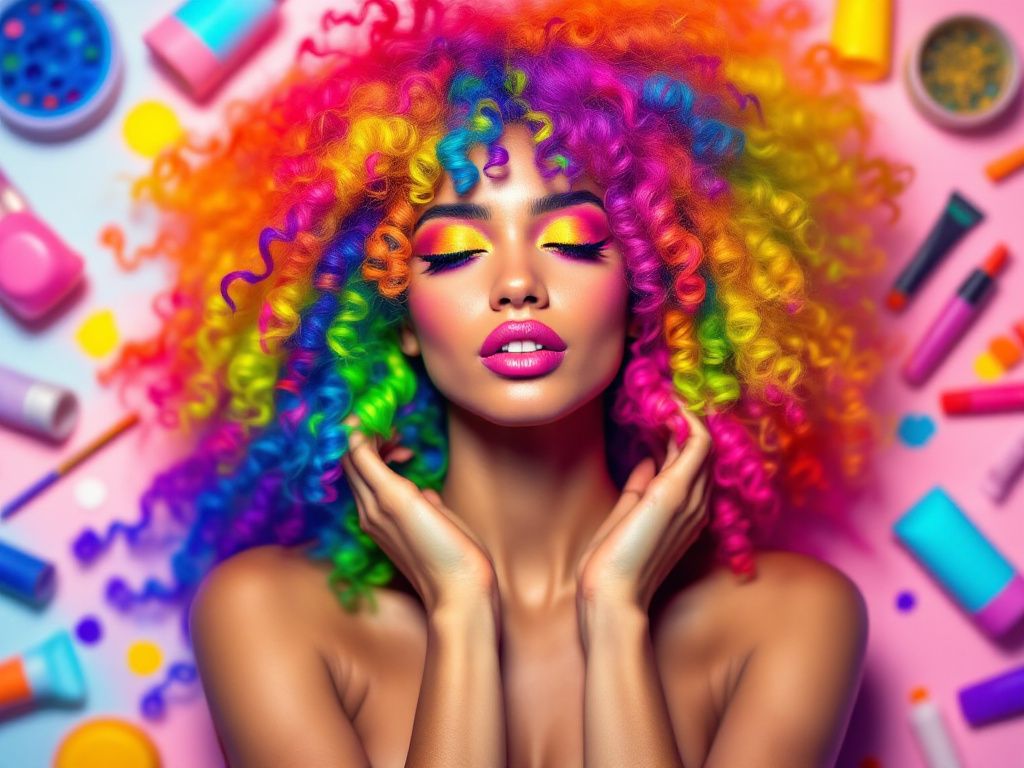
Curly hair isn’t just straight hair with a bit more oomph. It’s in a league of its own, with unique needs and beautiful traits. The structure duced by the means it is naturally more prone to dryness due to oils produced by the scalp having a harder time traveling down the spiral structure. This is precisely why extra care is pivotal when contemplating dyeing it. Sounds tricky? Maybe a little, but definitely doable—with the right precautions.
1. Choose the Right Color and Product
First things first, let’s talk about color—those dreamy shades beckoning you from salon posters or Pinterest boards. While that smoking hot red might look killer, it’s crucial to pick something that works for your unique curl pattern and hair health. Choose color products specifically designed for curly hair to minimize potential damage and focus on hues that compliment your natural tone.
Professional vs. DIY
Debating between booking that salon appointment or having a fun, DIY session at home? Let’s weigh it a bit. A professional colorist experienced with curly hair knows the ins and outs—and sometimes, paying those dollars is worth the peace of mind. However, if you’re feeling brave and knowledgeable, or perhaps you’re experienced in DIY dye jobs, many natural color kits cater to curly textures and are less harsh.
Do this if you decide to DIY:
- Use a semi-permanent or demi-permanent dye to keep it low-key and low-stress.
- Do a patch test first—not as tedious as it sounds and totally saves you from a bad allergic reaction.
2. Prepping Your Curls for Color

Now, onto prep—for successful coloring, the way you prepare your hair is just as important as coloring itself. Don’t scrimp on this step.
Deep Condition
Get friendly with deep conditioning treatments. A week prior to dying, slather on some extra nourishment. Hydration is key. More moisture means happier, bouncier curls that handle color better. Always focus on nourishing, curl-friendly products and opt for deep conditioning masks that focus on repair and moisture.
Embrace Dirtier Hair
Shampooing less frequently is surprisingly a good friend here. Natural oils work in your favor—a little accumulated oil provides a protective barrier on your strands. Think about going a couple of days without washing your hair before dye day. Dirty hair can better withstand harsh chemicals found in many dyes.
3. The Application Process
Okay, you’ve picked out that brave heart-red or daring sable brown, you’ve got conditioned, ready-to-go prepped curls. Now comes the fun (or nerve-wracking) part!
Sectioning is Key
Manageability. That’s the word here. Curly hair can be dense, so sectioning neatly is mission-critical. Break it down into four or even more manageable sections. Clips will become your best friends.
Talking application?
Start from the roots and gently work the dye through to the ends. If you’re working solo, a second pair of yogi’s expert hands might be great. And don’t rush! Carefully run the color through, ensuring thorough, even spreading if full coverage is your aim.

Timing is Everything
Stick to the timing on that box—or the stylist’s advice if you’re in professional hands. Over-waiting won’t somehow amplify color payout, and with porous, curly hair, it might lead to more harm than good.
4. Aftercare Essentials
Whether you’re rinsing out steaming highlights or stunning all-over tones, aftercare can’t be underestimated. Your hair craves some loving attention.
Cold Rinse Time
It feels like an initiation, but using cooler water seals the cuticles, thus locking in the color (Who said beauty was always cozy?). It’ll help maintain that hard-earned vibrancy.
Moisturize, Moisturize, Moisturize
The chorus of deep conditioning. Again! You thought offseason workouts were exhaustive—jump onto the deep conditioning wagon. Products with coconut oil, shea butter, and aloe are fantastic. Leave-in conditioners and curl creams will become part of your curly hair routine, and don’t skimp on the frequency.
Trim Those Ends
Post-color trimming is like pruning—essential for all that new growth. A haircut will keep frayed ends from taking away your color’s shine and improve your hair’s overall health.
5. Living with Your New Color

Let’s talk maintenance, folks! A bit of planning day-to-day will make even the boldest unicorn color last.
Limit Heat
Air-drying becomes the new rock-and-roll. Heat tools? Only when unavoidable. Curious for texture or waves? Look to heatless options or leave the experimenting for big events. Steer clear from sizzling your curls regularly—it’ll extend the life and health of your curls.
Sun Protection
Yes, your hair needs SPF love too. The sun fades things faster than you’d think. Hats are fashionable shields. Pull that inner diva and own the wide brims. Or try products with built-in UV protection.
Common Mistakes to Avoid

And inevitably, some things you want to dodge, the proverbial mines of the curly color love battlefield. Jot these down ’cause heads-ups are always handy!
- Over-dyeing: More isn’t always more. Patience here saves you substantial breakage agony. Let your hair recuperate between colors.
- Skipping professionals for permanent colors: Permanent calls for experts, truly! If lasting change settles in, professional hands should guide you.
Wrapping Up Our Coloring Curly Hair Chat
Here’s the tale of hand-holding your curly color journey safely through its beautiful creation. Seem like a lot? Sure, nobody claims coloring curly hair is without its learning curve—but embracing it elevates your already brilliant curls to technicolor levels, with minimal risks. Odds high are it’ll become second nature before you know it.
And in no time, you’ll flaunt styled-but-true-to-you hair that defies dryness, damage, or dimness. Go on—paint that curl rainbow of expression, and remember that you’re magnificently bold no matter what spectrum you take on.
Frequently Asked Questions
How should I prepare my curly hair before dyeing it?
To prepare your curly hair for dyeing, ensure your hair is healthy by deep conditioning it at least a week beforehand. Avoid washing your hair for 2-3 days before dyeing to retain moisture and protect your scalp with its natural oils. This pre-dye care helps in achieving better color results and minimizing damage[1][2][5).
What type of hair dye is best for curly hair?
For curly hair, it is best to use rich, creamy formulas rather than foam dyes, as they penetrate coarser strands better. Opt for semi-permanent dyes that do not contain ammonia or added peroxide to avoid dehydrating your hair. Products specifically formulated for curly hair, such as those from L’Oréal Paris and Lime Crime, are recommended for maintaining moisture and color vibrancy[1][2][5).
How can I avoid color bands and uneven color distribution on curly hair?
To avoid color bands and ensure even color distribution, divide your hair into small sections and saturate each section thoroughly. Use clips to keep sections separate and work through them methodically. Following the natural curl pattern, as in the Pintura technique, can also help achieve a more natural and evenly colored look[2][3][4).
How should I care for my curly hair after dyeing it?
After dyeing your curly hair, use nourishing, sulfate-free products to maintain moisture and color. Regularly use a hydrating hair mask and a color-protecting shampoo and conditioner. Avoid products with sulfates and parabens, and consider using a moisturizing mask once a week, especially if you have gone lighter[1][2][3).
References
Leave a Reply