

Ever felt that creeping worry when you’re wielding a curling wand or flat iron, wondering just how much damage is being done to your hair? Yeah, we’ve all been there. Heat styling tools are amazing for getting those looks that make us feel like we’ve just stepped out of a salon. But the trade-off, more often than not, seems to be the health of our hair.
From split ends to that dreaded brittle texture, it seems like there’s always a catch when it comes to heat styling. But here’s the good news: it doesn’t have to be this way. With a few smart heat styling tips, you can keep your hair game strong while still staying within the realm of healthy tresses.
Understanding Heat and Hair: The Basics
Before diving into the actionable, let’s chat about why heat styling tends to get a bad rap. Hair is made up of a protein called keratin, and heat can warp these proteins, leading to breakage. Kind of like overcooking pasta until it’s all mushy. Not the best idea, right?
And then, there’s moisture — the essential jacket your hair wears to look sleek and healthy. Excessive heat draws out moisture, making strands dry, dull, and in the worst-case scenario, prone to breakage. So, knowing this, how do we move from cautionary tale to success story?
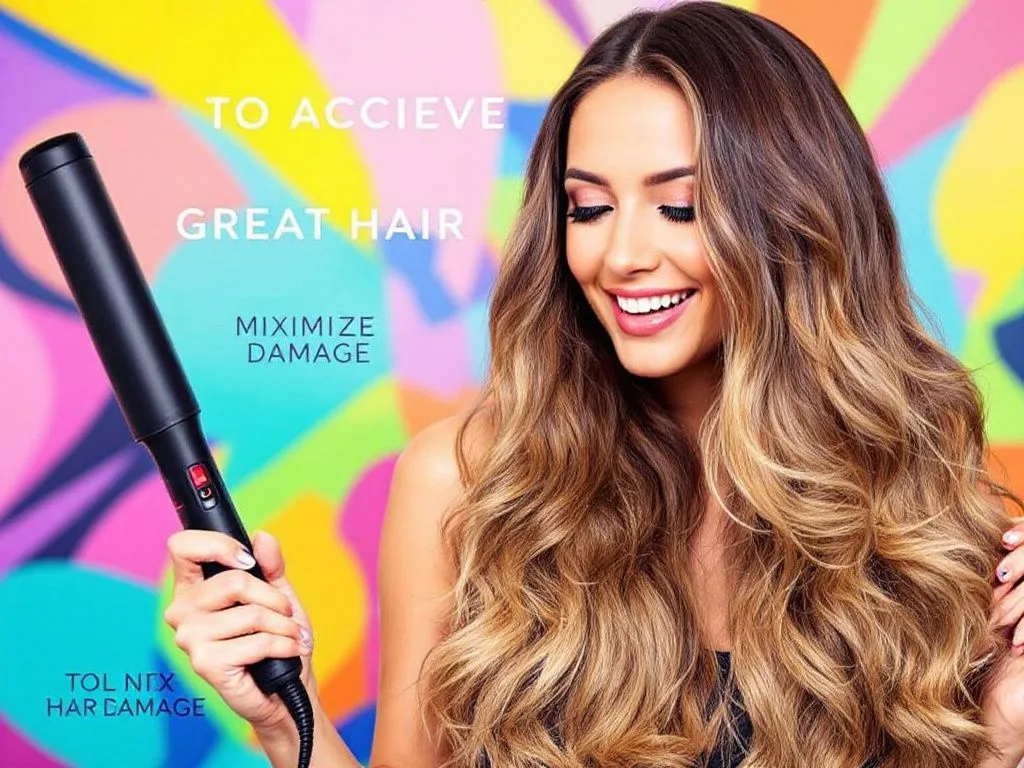
Choosing the Right Tools
H2: Friend or Foe: Picking Your Heat Styling Tools
First things first: let’s talk tools. Not all heat styling tools are created equal, believe it or not.
- Material Matters: Seek out ceramic or tourmaline plates for flat irons and curling wands. These gems distribute heat more evenly compared to old-school metal plates, which concentrate heat in a way that can zap hair if you’re not careful.
- Temperature Control: A good iron or wand should allow you to choose the temperature. Trust me, blasting your hair with the hottest setting every day is like using a nuke when you only need a match. Opt for adjustable heat, and use just enough to get the job done.
- Size It Up: Consider the size of the plates or barrel depending on your hair type and desired style. Smaller barrels create tight curls, while larger ones offer loose, beachy styles. Bigger can be better if you’re aiming for a quick lift!
Heat Styling Tips: Before You Start

H2: Prep is Everything
Before you crank up the heat, lay the groundwork. Preparation is easily just as important as the actual heat styling.
H3: Clean, But Not Too Clean
Sure, freshly washed hair feels lovely, but there’s a catch. Natural oils protect your scalp and strands. Washing your hair strips away these oils, leaving them vulnerable. Aim to style your hair on second-day strands; they’re easier to work with and less prone to damage.
H3: Shield With Heat Protectants
If there’s one guardian everyone should allow onto their hair battlefield, it’s a heat protectant. These products act like a thermal barrier between your hair and the heat, minimizing damage. Spritz or smooth this on before any styling. You’ll thank yourself later when your hair still feels soft instead of crispy.
Heat Styling Techniques: Mastering the Method
H2: It’s All About the How

Now, the fun part. Or should I say the informative crux? It’s where technique meets style, and style meets safety.
- Slow and Steady: Contrary to the notion of a quick rush, take your time. Passing the flat iron or curler over your hair slowly ensures even styling without needing multiple aggressive passes.
- Stay Cool, Literally: Not every hairstyle needs high heat. Fine or damaged hair can often be styled at lower temperature settings. Play around to find the minimum level required to achieve the style. Hair is like your morning coffee — it doesn’t always need to be piping hot to be good.
- One-and-Done: Instead of doing umpteen passes over the same section, a single, slow run-through is actually better. Oddly, patience is key to speed here since fewer passes mean less overall exposure to heat.
H3: Avoid Wet or Damp Hair
And for my favorite tip—a caution really. Never use your tools on damp or wet hair unless you’re using a tool specifically designed for this. Moisture inside hair boils when exposed to heat, and that sizzling sound isn’t magic happening; it’s damage, plain and simple.
Aftercare: Keeping It Healthy Post-Styling
H2: The Delight is in the Details
You’re looking like a star, but don’t rest just yet. A solid post-styling routine is your ticket to fabulous, long-term hair health.
H3: Quality Time with Cool Down

Before throwing your hair into any restrictive style like a bun or ponytail post-curling, let your locks cool first. Setting freshly styled hair too quickly is like frosting a cake right out of the oven — messy results await.
H3: Regular Deep Conditioning
A good mask is like a facial for your hair. Scheduling regular deep-conditioning treatments helps to replenish lost moisture and strengthen strands, keeping your mane maneuvre without aches. Look for ingredients like keratin, argan oil, and shea butter.
Troubleshooting: Heading Off Common Issues
H2: Heads Up—Here’s What to Avoid
Ah, the pitfalls of styling. But don’t worry, dodge these, and you’re golden.

- Over Styling: It’s so easy to fall in love with a style and want it daily, but giving your hair a break with heat-free days is just as important for long-term health.
- Skimping on Trims: This feels irrelevant but bear with me. Regular cuts actually reduce split ends. Less split ends mean heat doesn’t travel up the shaft as easily, damaging good hair — fewer tangles, too.
Final Thoughts
Hopefully, these heat styling tips get you perfectly closer to searing body of blissful locks—without the painful fallout. Hair, like life, thrives on balance. With careful selection, use, and aftercare of hot tools, it’s possible to have vibrant hair eager to style and unstoppable from shine. Give yourself grace on this journey. Try out these ideas — adapt them, tweak them, make them your own.
We’re all intending to nail that effortlessly ‘did but not done’ look, and when achieved healthily? That’s what really makes a scene. Happy styling!
Frequently Asked Questions
What is the importance of using a heat protectant when heat styling?
Using a heat protectant is crucial as it creates a protective barrier between your hair and the heat styling tool, reducing moisture loss and heat damage. This step is essential to minimize heat-related harm and protect the hair cuticle[1][2][5>.
How should I prepare my hair before using heat styling tools?
Before using heat styling tools, ensure your hair is completely dry, as styling wet or damp hair can cause severe damage and breakage. Additionally, detangle your hair gently and section it to ensure even heat distribution and better control[1][2][4>.
What are the appropriate temperature settings for different hair types when heat styling?
For fine or damaged hair, use lower temperatures (below 300°F/150°C). Medium or average hair can handle temperatures between 300°F and 375°F (149°C to 190°C), while thick or coarse hair may require higher settings up to 400°F (200°C)[1][2][4>.
How often should I use heat styling tools to avoid damaging my hair?
Avoid using heat styling tools every day. Give your hair breaks between styling sessions to recover and maintain its health. Opt for heatless styling methods on alternate days to reduce cumulative damage[1][2][5>.
References- Heat Styling: Dos and Don’ts for Safe and Stylish Hair | Clinikally.
- Hair Styling Tools: Important Precautions for Safe Usage – HK Vitals.
- Heat Styling 101: Tips and Tricks for Protecting Your Hair and Achieving Flawless Results | Smooth & Charming.
- The Dos and Don’ts of Heat Styling: Protecting Your Hair | Emiliv Professional.
Leave a Reply